Photography can make or break your online presence. A quick look around on your favorite websites and social accounts usually reveals that killer photography or videography is at the heart of aesthetics.
It’s just really hard to make things look impressive without solid imagery.
But what if you don’t have the budget to produce professional grade imagery? You do it yourself! In fact, your mobile phone’s camera will probably suffice in most cases.
Here is our quick guide to web photography to help you showcase your business.
Preparations
Plan Ahead
Give some thought to what you want to shoot in advance. Think about the Who, Where, What you want to capture make the most of your time in the field. Remove clutter, get people to dress accordingly, and add/move around props or accessories to make everything look sharp. Great photos won’t happen by mistake.
Lighting is Everything
Professional photographers will tell you that lighting is the most important part of composing quality imagery. Usually this means finding natural light (outdoors or near large windows). Turn your flash off as this tends to create harsh contrast, glares, and flat subjects. Make sure your subject is moderately lit, without being overexposed. If you need some extra light, there are many options out there to help fill shadows or add highlights. Good lighting means crisper and cleaner images.
Backgrounds Matter
A cluttered background, or objects “growing” out of peoples’ heads can be very distracting and will look sloppy. Choose backgrounds that are plain, usually darker, to contrast with your subject and help them “pop out”. Some modern phones have Portrait Mode to help blur the background. Also consider creating a larger distance between your subject and the background to create separation. Context matters as well – for example, outdoor gear should be shot outdoors.
14 Tips for Amazing Web Photos | Guide to Website Photography
Mind Your Angles
Get creative. A unique approach to your photos can win attention. For example, taking photos of dogs from the perspective of an adult human’s point of view is boring. This is what we see every day. Rather, try getting really low down to the dog’s perspective and a whole new interesting world opens up. Try all sorts of angles, distances, and perspectives and you might be really surprised at the outcome.
Keep Your Options Open
Shoot a lot. Try different things and choose the winner later on. Don’t rely on post production to make your photos great. The beauty of digital photography is you’re not spending extra money on film. You can always delete the losers. Your web designer will welcome the opportunity to choose from a variety of options, rather than being pinned down to just one or two simple compositions.
14 Tips for Amazing Web Photos | Guide to Website Photography
In the Field
Find Your Focus
Images need to be tack-sharp. Blurry photos are useless…unless of course you’re selectively focusing to steer the viewer’s attention. Low lighting situations are much more difficult to find focus because your camera will be using a larger aperture. If you’re using an SLR camera, you should be able to fix the focus – especially helpful if the distance between you and your subject is constant (i.e., headshots).
Frame With Intent
Web photography leans heavily on horizontally framed photos. Hold your camera “sideways” to take the majority of your shots, especially if they’ll be used on you website. Many website photos also require empty or open space to provide clean areas for text overlays. It’s a good move to move your subject to the far right, left, top or bottom of the frame for some of your shots to give your designer a variety of options.
Zoom In Without Zooming
It’s a great idea to get up close and personal with your subject sometimes. That said, don’t use the digital zoom on your camera. This function diminishes the quality of the image, which means it could become blurry, pixelated, or grainy. Instead, use your legs and move around. Getting in close allows you to capture expressions, textures and details otherwise missed. Physically getting closer brings new perspective while preserving image quality.
The Rule of Thirds
Photography 101 teaches us that the most interesting photo layouts do not have the subject smack in the middle of the frame. Instead, move the subject over to the side, taking up a third of the space (or two-thirds) and leaving the remaining space empty. With people, it’s good practice to have subjects “looking into” the frame, rather than looking outward toward the edge of the picture.
Post Production
Software to Sexy it Up
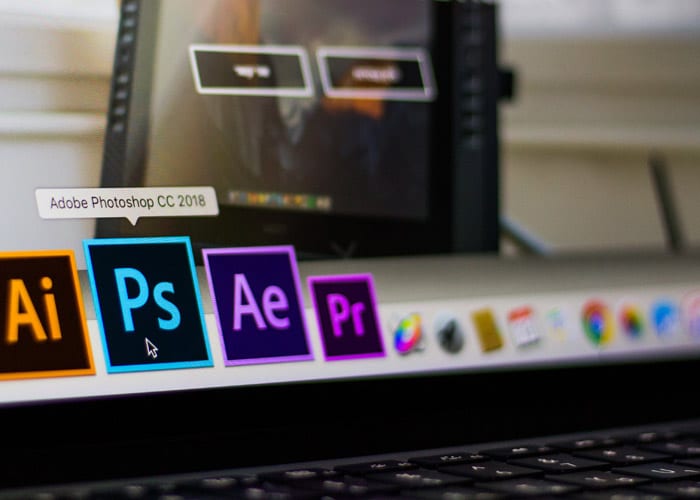
It’s a great move to familiarize yourself with a good quality photo editing software. These programs might be intimidating, but they’re essential for adding the finishing touches to your work. Learn basic skills such as cropping, color balancing, exposure, and simple cleanup techniques to make your photos pop. Photoshop is probably top of the line, but there are many other cheap or free applications out there.
Think SEO
Photos are a big part of Search Engine Optimization. Oversized images take a long time to render on web pages and your website will be penalized if you haven’t saved for web resolution (users don’t like waiting for pages to come up). Also, every image needs meta information, especially “alt tags”. Search engines don’t look at images the way that humans do. Alt tags tell web crawlers what the image is all about. Without this meta information, search engines won’t know what’s on your page.
Some Other Business Tips
Headshots
Quality staff photos can bring a new level of professionalism and brings a human element to your company. Plan ahead and consider setting up a staff picture day. Tell people what they should wear (i.e., uniforms, or befitting professional attire), and make sure they’re ready. Set up a clean, clutter-free background, with quality lighting. Consistency is important, especially when everyone’s photos will appear on the same page next to one another. Typically, headshots are framed vertically allowing for some cropping, with the subject’s eyes just above center. Offer the photos to staff for use on their LinkedIn or social accounts.
Photos on Location
Quality images of your location or storefront helps customers find and recognize your location. Outdoor photos are best taken an hour after sunrise or an hour before sunset with softer, amber light while the sun is low. Mid-day photos are often “harsh” with sharp shadows contrasted overexposed areas. Photos of the inside of your business can offer a sneak peek of how you do things and what the culture is like in your workplace. Quality candid photos can capture how your teams do their jobs and present appealing personal touches.


